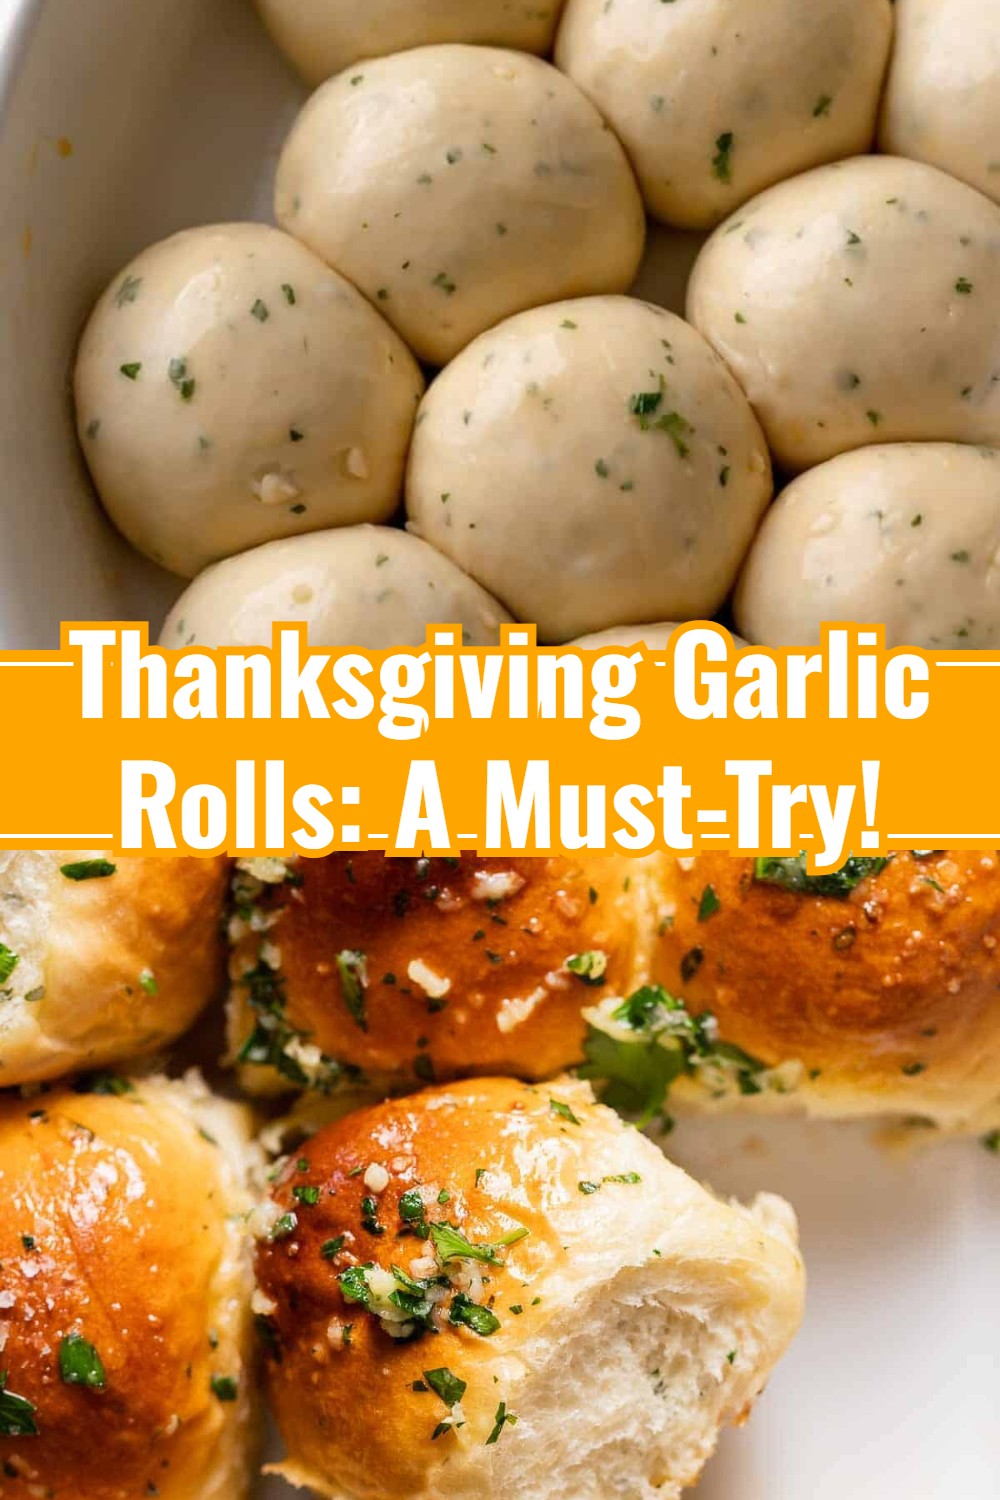
While our hearts at “Best Slow Cooker” beat for all things low and slow, we know that a truly spectacular meal often calls for a few fresh, non-slow cooker touches. And when it comes to holiday feasts, nothing quite completes the spread like a basket of warm, homemade bread rolls. These Garlic Thanksgiving Bread Rolls are designed to be the perfect companion to your show-stopping slow cooker turkey or ham, adding an extra layer of comfort and flavor without tying up your stove. Imagine pulling apart a soft, pillowy roll, fragrant with aromatic garlic and garden herbs, its golden crust hinting at the deliciousness within. They are an absolute dream for soaking up every drop of rich gravy or creamy sauce from your slow cooker creations. This recipe ensures you get that homemade magic on your table, providing a beautiful contrast to your slow-cooked dishes and making your holiday meal utterly unforgettable.
Equipment Needed
- Large mixing bowl
- Measuring cups and spoons
- Stand mixer with dough hook (optional, but recommended)
- Small saucepan or microwave-safe bowl
- Whisk
- Clean kitchen towel
- 9×13 inch baking dish or cast iron skillet
- Pastry brush
Ingredients
- 1 cup warm milk (105-115°F / 40-46°C)
- 2 1/4 teaspoons active dry yeast (one standard packet)
- 1 tablespoon granulated sugar
- 1/2 cup (1 stick) unsalted butter, melted and divided
- 1/4 cup warm water (105-115°F / 40-46°C)
- 1 large egg, room temperature
- 1 teaspoon salt
- 3 1/2 – 4 cups all-purpose flour, plus more for dusting
- 3-4 cloves garlic, minced
- 2 tablespoons fresh parsley, finely chopped
- 1 tablespoon fresh chives, finely chopped
- Pinch of sea salt flakes (for finishing)
Shopping List
Dairy & Eggs
- 1 cup milk
- 1/2 cup (1 stick) unsalted butter
- 1 large egg
Produce
- 3-4 cloves garlic
- 1 bunch fresh parsley
- 1 bunch fresh chives
Pantry
- 2 1/4 teaspoons active dry yeast
- 1 tablespoon granulated sugar
- 3 1/2 – 4 cups all-purpose flour
- 1 teaspoon salt
- Pinch of sea salt flakes
Instructions
- Activate Yeast: In a large mixing bowl (or stand mixer bowl), combine the warm milk, yeast, and granulated sugar. Stir gently and let it sit for 5-10 minutes until foamy. This indicates the yeast is active.
- Add Wet Ingredients: To the foamy yeast mixture, add 1/4 cup of the melted butter, warm water, and the egg. Whisk until well combined.
- Combine Dry Ingredients: In a separate bowl, whisk together 3 1/2 cups of the all-purpose flour and the salt.
- Form Dough: Gradually add the dry ingredients to the wet ingredients, mixing until a shaggy dough forms. If using a stand mixer, attach the dough hook and knead on low speed for 5-7 minutes. If kneading by hand, turn the dough out onto a lightly floured surface and knead for 8-10 minutes until smooth and elastic. Add more flour a tablespoon at a time if the dough is too sticky, but avoid adding too much.
- First Rise: Lightly grease a clean large bowl with a little oil. Place the dough in the bowl, turning once to coat. Cover the bowl with a clean kitchen towel or plastic wrap and let it rise in a warm place for 1 to 1.5 hours, or until doubled in size.
- Prepare Garlic Butter: While the dough is rising, melt the remaining 1/4 cup of butter. Stir in the minced garlic, chopped parsley, and chopped chives. Set aside.
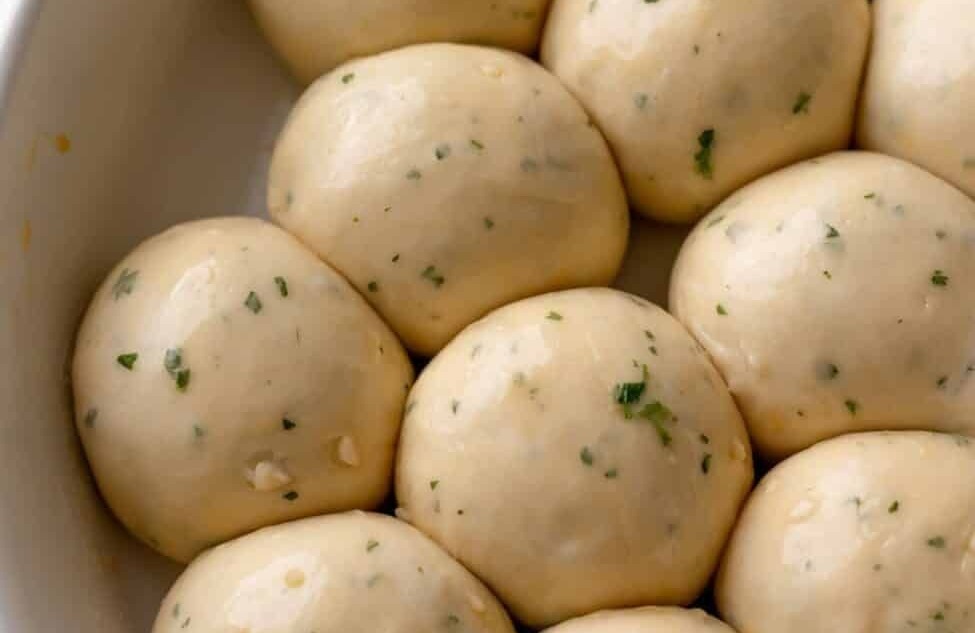
- Shape Rolls: Once the dough has doubled, gently punch it down. Turn it out onto a lightly floured surface and divide it into 12-15 equal pieces. Roll each piece into a smooth ball. Arrange the dough balls in a greased 9×13 inch baking dish or cast iron skillet, leaving a little space between each.
- Second Rise: Brush the tops of the rolls generously with half of the prepared garlic herb butter. Cover the baking dish again and let the rolls rise for another 30-45 minutes, or until puffy and almost doubled in size.
- Bake Rolls: Preheat your oven to 375°F (190°C). Bake the rolls for 15-20 minutes, or until golden brown on top and cooked through. If they start browning too quickly, you can loosely tent them with aluminum foil.
- Finish and Serve: As soon as the rolls come out of the oven, brush them with the remaining garlic herb butter. Sprinkle with a pinch of sea salt flakes for an extra flourish. Serve warm and enjoy!
Tips & Variations
- Don’t rush the proofing process. A warm, draft-free spot is key for a good rise. A great tip for busy holiday kitchens (especially when your slow cooker is working overtime!) is to place the covered dough in a slightly warm (but not hot) oven that’s been turned off.
- To deepen the garlic flavor, try roasting the garlic cloves whole before mincing and adding them to the butter. This mellows their pungency and adds a wonderful sweetness, perfectly complementing savory slow-cooked meats.
- Experiment with herbs that pair well with your slow cooker main. While parsley and chives are lovely, a hint of fresh rosemary or thyme can beautifully echo flavors in a slow cooker pot roast or chicken dish.
- To simplify your holiday prep, make the dough the day before! After the first rise, punch it down, cover tightly, and refrigerate overnight. On serving day, let it come to room temperature for about 30-60 minutes before shaping and proceeding with the second rise and baking.
- These rolls are fantastic for soaking up gravies from any slow cooker dish. Consider serving them with a rich beef stew or a creamy slow cooker chicken for an everyday delight, not just holidays.
Serving & Storage Suggestions
These Garlic Thanksgiving Bread Rolls are absolute magic when served warm, fresh from the oven, offering a delightful contrast to the long-simmered perfection of your slow cooker dishes. Imagine them nestled in a charming basket, ready to accompany your Slow Cooker Turkey Breast, a succulent Slow Cooker Ham, or even a rich Slow Cooker Pot Roast. They are truly phenomenal for scooping up every last bit of savory slow cooker gravy or sauce. Any rare leftovers can be stored in an airtight container at room temperature for up to 2-3 days. Gently reheat them in the microwave or oven to bring back their tender warmth. They’re also perfect for crafting mini sandwiches with leftover slow cooker pulled pork or turkey!
Even on a blog dedicated to the wonders of the slow cooker, we believe in embracing all elements of a truly memorable meal. These Garlic Thanksgiving Bread Rolls are the perfect example of how a non-slow cooker recipe can beautifully enhance your low-and-slow culinary creations. I hope you and your loved ones enjoy these as much as we do! Let me know in the comments below what slow cooker main dish you paired them with and how they elevated your feast!
Garlic Thanksgiving Bread Rolls
These fluffy, savory bread rolls, brimming with aromatic garlic and fresh herbs, are the ideal complement to your favorite slow cooker holiday mains, perfect for soaking up every last drop of rich sauce or gravy.
Ingredients
- 1 cup warm milk (105-115°F / 40-46°C)
- 2 1/4 teaspoons active dry yeast (one standard packet)
- 1 tablespoon granulated sugar
- 1/2 cup (1 stick) unsalted butter, melted and divided
- 1/4 cup warm water (105-115°F / 40-46°C)
- 1 large egg, room temperature
- 1 teaspoon salt
- 3 1/2 - 4 cups all-purpose flour, plus more for dusting
- 3-4 cloves garlic, minced
- 2 tablespoons fresh parsley, finely chopped
- 1 tablespoon fresh chives, finely chopped
- Pinch of sea salt flakes (for finishing)
Instructions
- Activate Yeast: In a large mixing bowl (or stand mixer bowl), combine the warm milk, yeast, and granulated sugar. Stir gently and let it sit for 5-10 minutes until foamy. This indicates the yeast is active.
- Add Wet Ingredients: To the foamy yeast mixture, add 1/4 cup of the melted butter, warm water, and the egg. Whisk until well combined.
- Combine Dry Ingredients: In a separate bowl, whisk together 3 1/2 cups of the all-purpose flour and the salt.
- Form Dough: Gradually add the dry ingredients to the wet ingredients, mixing until a shaggy dough forms. If using a stand mixer, attach the dough hook and knead on low speed for 5-7 minutes. If kneading by hand, turn the dough out onto a lightly floured surface and knead for 8-10 minutes until smooth and elastic. Add more flour a tablespoon at a time if the dough is too sticky, but avoid adding too much.
- First Rise: Lightly grease a clean large bowl with a little oil. Place the dough in the bowl, turning once to coat. Cover the bowl with a clean kitchen towel or plastic wrap and let it rise in a warm place for 1 to 1.5 hours, or until doubled in size.
- Prepare Garlic Butter: While the dough is rising, melt the remaining 1/4 cup of butter. Stir in the minced garlic, chopped parsley, and chopped chives. Set aside.
- Shape Rolls: Once the dough has doubled, gently punch it down. Turn it out onto a lightly floured surface and divide it into 12-15 equal pieces. Roll each piece into a smooth ball. Arrange the dough balls in a greased 9x13 inch baking dish or cast iron skillet, leaving a little space between each.
- Second Rise: Brush the tops of the rolls generously with half of the prepared garlic herb butter. Cover the baking dish again and let the rolls rise for another 30-45 minutes, or until puffy and almost doubled in size.
- Bake Rolls: Preheat your oven to 375°F (190°C). Bake the rolls for 15-20 minutes, or until golden brown on top and cooked through. If they start browning too quickly, you can loosely tent them with aluminum foil.
- Finish and Serve: As soon as the rolls come out of the oven, brush them with the remaining garlic herb butter. Sprinkle with a pinch of sea salt flakes for an extra flourish. Serve warm and enjoy!
