

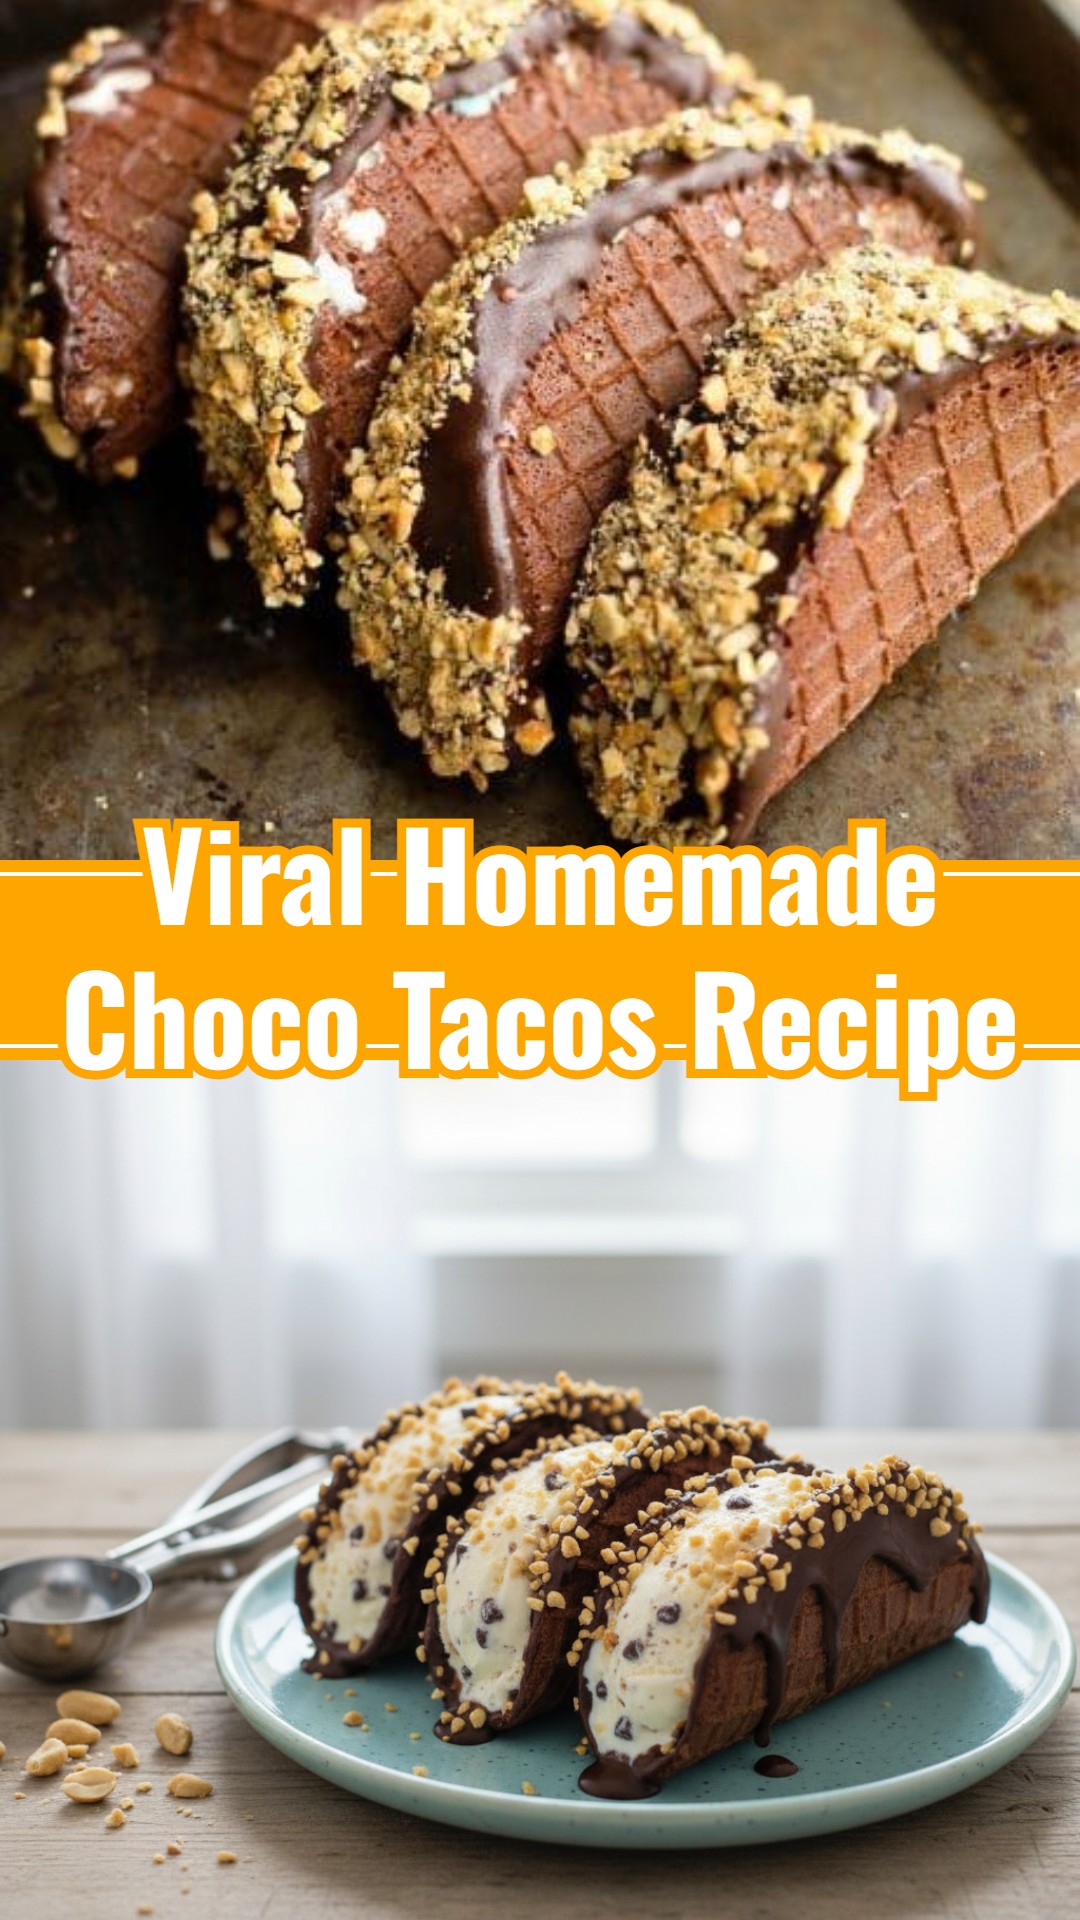
Step-by-Step Instructions
- Prepare the Waffle Taco Shells: In a medium bowl, whisk together the flour, sugar, and salt. In a separate small bowl, whisk the eggs, melted butter, milk, and vanilla extract until well combined. Pour the wet ingredients into the dry ingredients and whisk until just combined and smooth. Do not overmix.
- Cook the Waffle Shells: Heat your waffle cone maker or pizzelle iron according to manufacturer’s instructions. Scoop about 2-3 tablespoons of batter onto the center of the iron (adjusting for your specific model). Close and cook until golden brown and crispy, usually 1-2 minutes.
- Shape the Taco Shells: Immediately and carefully remove the hot waffle disc from the iron. Drape it over a wooden spoon handle or a specific taco shell shaper, allowing it to cool and harden into a taco shape. Alternatively, gently fold it in half. Work quickly, as the shells become brittle as they cool. Repeat with the remaining batter. Place shaped shells on a baking sheet lined with parchment paper.
- Freeze the Shells: Once all shells are shaped and cooled completely, place the baking sheet in the freezer for at least 15-20 minutes to ensure they are firm before filling.
- Fill the Choco Tacos: Remove the vanilla ice cream from the freezer and let it soften slightly for about 5-10 minutes. Using an offset spatula or a spoon, gently fill each frozen waffle taco shell with ice cream. Do not overfill. Place the filled tacos back onto the parchment-lined baking sheet and freeze for at least 1-2 hours, or until the ice cream is very firm.
- Prepare the Chocolate Dip: In a deep, narrow bowl or microwave-safe glass, combine the chocolate chips and coconut oil. Microwave in 30-second intervals, stirring well after each, until the chocolate is fully melted and smooth. Alternatively, melt in a double boiler over simmering water.
- Dip and Top: Once the filled Choco Tacos are completely frozen, remove them from the freezer. Hold each taco by the ice cream and dip the open end into the melted chocolate, allowing any excess to drip off. Immediately sprinkle with chopped peanuts or your desired toppings. Place the finished Choco Tacos back on the baking sheet.
- Final Freeze: Return the baking sheet with the dipped Choco Tacos to the freezer for another 30-60 minutes, or until the chocolate coating is firm and set. Once set, you can transfer them to an airtight, freezer-safe container for longer storage.
Full Ingredients
- For the Waffle Taco Shells:
- 1 cup all-purpose flour
- 1/2 cup granulated sugar
- 1/4 teaspoon salt
- 2 large eggs
- 1/4 cup unsalted butter, melted and cooled
- 1/4 cup milk
- 1 teaspoon vanilla extract
- For the Filling:
- 1.5 quarts (approx. 6 cups) vanilla ice cream, slightly softened
- For the Chocolate Coating:
- 10 ounces good quality chocolate chips or chopped chocolate (milk, semi-sweet, or dark)
- 2 tablespoons coconut oil (or shortening)
- For the Toppings:
- 1/2 cup chopped peanuts (or other nuts, sprinkles, toffee bits)
Shopping List
Dairy & Eggs
- 2 large eggs
- 1/4 cup milk
- 1/4 cup unsalted butter
- 1.5 quarts vanilla ice cream
Pantry
- 1 cup all-purpose flour
- 1/2 cup granulated sugar
- 1/4 teaspoon salt
- 1 teaspoon vanilla extract
- 10 ounces chocolate chips or chopped chocolate
- 2 tablespoons coconut oil
- 1/2 cup chopped peanuts
Equipment Needed
- Waffle cone maker or pizzelle iron
- Mixing bowls (small, medium)
- Whisk
- Measuring cups and spoons
- Small offset spatula or butter knife
- Parchment paper
- Baking sheet
- Freezer-safe container
- Deep, narrow bowl or glass for dipping
- Spoon or small scoop
Variations & Serving Ideas
These irresistible Homemade Choco Tacos are best enjoyed straight from the freezer, offering a delightful chill and satisfying crunch that makes them the perfect sweet dish. They are an absolute showstopper for any gathering – ideal for casual summer parties, festive backyard barbecues, or as an exciting upgrade to your next family movie night. To impress your guests, arrange them artfully on a chilled platter, perhaps garnished with a few extra chopped nuts or a sprinkle of flaky sea salt for a gourmet touch. For ultimate freshness and to preserve their perfect texture, wrap each Choco Taco individually in plastic wrap once the chocolate coating has fully set. Then, transfer them to an airtight, freezer-safe container. This method ensures they remain fresh and delicious for up to 2-3 weeks, making them a fantastic make-ahead option for those quick snack cravings or impromptu dessert needs.
There’s something truly magical about recreating a beloved classic, and these Homemade Choco Tacos are a testament to that joy. This easy baking recipe for desserts offers a delightful trip down memory lane, infused with the undeniable deliciousness of a homemade touch. I sincerely hope you and your family savor every single bite of this tasty baking project! Please share your creative variations, favorite ice cream choices, or any master chef tips you discovered in the comments below. We’d love to hear from you! Happy Choco Taco crafting! #ChocolateDishes #MasterChef #SweetDishesRecipes #TastyBaking #EasyBakingRecipesDesserts #QuickRecipesSnacks #EasySnackRecipes #BakedDessertRecipes #RecettePatisserieFacile
