

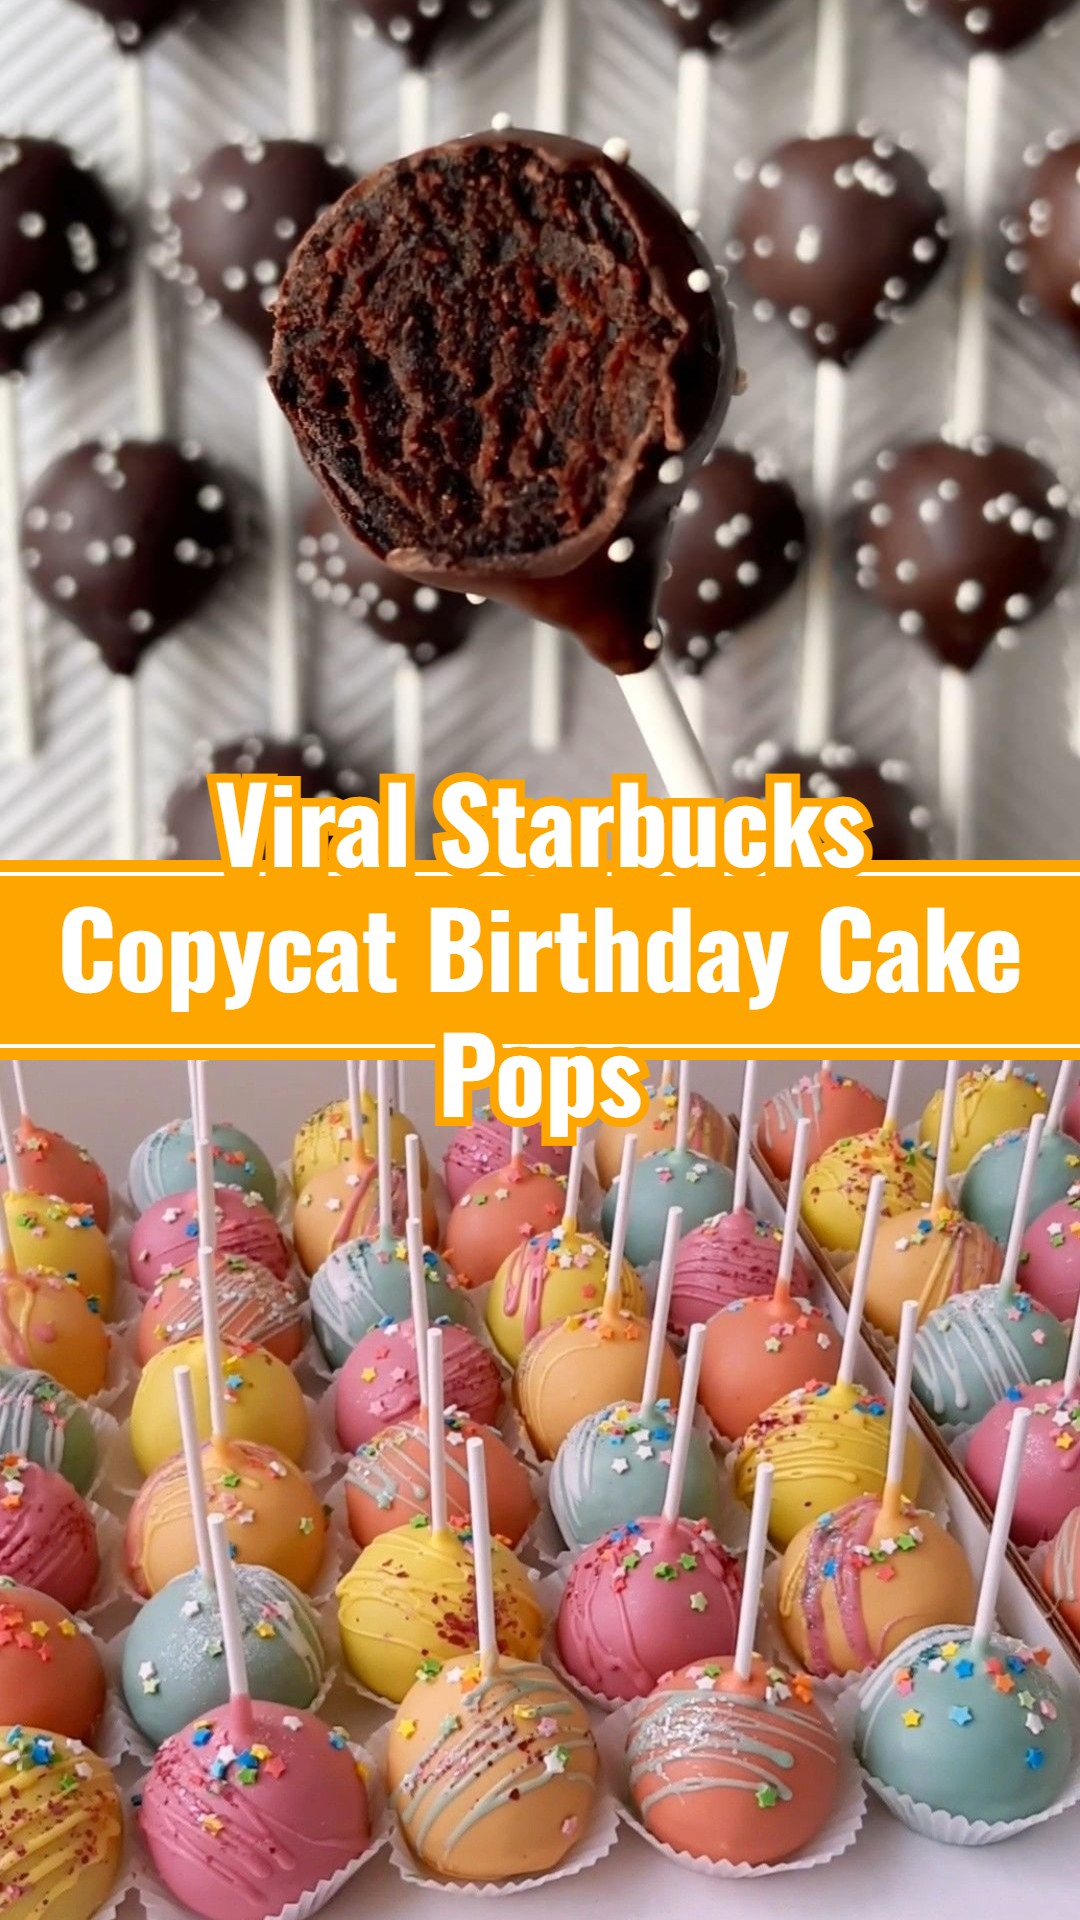
Imagine recreating the magic of Starbucks’ iconic Birthday Cake Pops, right from the comfort of your kitchen, with results that might just surpass the original! These vibrant, bite-sized delights are more than just a treat; they’re a celebration in every pop. Forget the hassle of complicated confectionery; our step-by-step guide is designed to make the process surprisingly straightforward, allowing you to achieve bakery-quality cake pops with ease. Much like the ‘set it and forget it’ philosophy of your favorite slow cooker meals, these homemade cake pops offer a simple path to spectacular results. Whether you’re searching for delightful bday food ideas, looking to impress with easy sweet treats recipes, or simply craving the best cake pop recipe you’ve ever made, you’ve found your ultimate guide. Get ready to transform a simple cake mix into an enchanting array of custom-decorated delights that are perfect for any gathering or just a sweet moment for yourself. Your journey to becoming a cake pop master starts here!
Helpful Tips
- Achieving Perfect Cake Pop Consistency: The most crucial step is mixing the cake crumbs with frosting. Start by adding about half to two-thirds of the prepared frosting to the crumbled cake. Mix thoroughly with your hands until the mixture can be pressed firmly into a ball that holds its shape without being sticky or greasy. If it’s too dry, add more frosting, a teaspoon at a time. If it’s too wet, you might need to add a little more cake crumb (if you have extra) or a tablespoon of powdered sugar, though careful addition of frosting is usually enough to avoid this. The ideal texture should resemble play-doh.
- The Importance of Chilling: Do not skip or rush the chilling process! Firmly chilled cake balls are key to preventing them from falling off the stick or crumbling when dipped into the warm candy coating. Refrigerate for a minimum of 30 minutes, or for a quicker set, freeze for 15-20 minutes. Ensure they are rock-hard on the outside but still pliable enough to insert a stick without cracking.
- Mastering the Dipping Coating: White candy melts can sometimes be too thick for a smooth, even coating. To achieve that signature glossy finish, melt the candy melts slowly and stir continuously. If it’s too thick, add a teaspoon of vegetable shortening or refined coconut oil (not virgin, as it can impart flavor) at a time, stirring until it reaches a waterfall-like, pourable consistency. Avoid adding water or milk, which will cause the chocolate to seize. Work quickly when dipping, and gently tap excess coating off by holding the stick above the bowl.
- Creative Flavor & Decoration Twists: Elevate your cake pops beyond vanilla! Consider using a chocolate or red velvet cake mix for different flavor profiles. For the frosting, a touch of almond extract or lemon zest can add a delightful twist. When it comes to coating, colored candy melts are fantastic for themed parties – pink for baby showers, blue for gender reveals, or green for St. Patrick’s Day. Beyond sprinkles, try edible glitter, finely chopped nuts, or even a drizzle of contrasting melted chocolate for an artistic touch.
- Optimal Storage for Freshness: To maintain their deliciousness and charming appearance, store finished cake pops in an airtight container. They will keep beautifully in the refrigerator for up to one week. For longer enjoyment, they can be frozen for up to a month. When ready to serve, always bring them out of the fridge or freezer and allow them to come to room temperature for about 15-20 minutes for the best flavor and softest texture.

Step-by-Step Instructions
- Bake the Cake: Prepare the vanilla cake mix according to package directions in a 9×13 inch baking pan, adding 1 teaspoon of vanilla extract and a pinch of salt to the batter for enhanced flavor. Once baked, let the cake cool completely in the pan on a wire rack.
- Crumble the Cake: Once cooled, transfer the cake to a large mixing bowl. Using your hands, crumble the entire cake until it resembles fine crumbs with no large pieces remaining. This is a crucial step for smooth cake pops!
- Make the Frosting: In a separate bowl, cream together the softened unsalted butter until light and fluffy. Gradually add the powdered sugar, mixing until combined. Add 1/2 teaspoon vanilla extract, a pinch of salt, and 1 tablespoon of milk or cream. Beat until smooth, adding more milk or cream a teaspoon at a time if needed, until you have a smooth, spreadable frosting.
- Combine Cake & Frosting: Add about 1/2 to 3/4 of the frosting to the crumbled cake. Mix with your hands until the cake mixture is moist enough to be pressed together and form a ball that holds its shape, but not so wet that it’s sticky or greasy. You may not need all the frosting, so add gradually.
- Form the Cake Pops: Scoop out about 1.5 tablespoons of the mixture and roll it firmly between your palms to form a smooth, dense ball. Place the formed cake balls on a baking sheet lined with parchment paper. Repeat until all the mixture is used.
- Chill the Cake Balls: Place the baking sheet with the cake balls into the refrigerator for at least 30 minutes, or the freezer for 15 minutes, until firm. This helps them stay on the stick.
- Prepare the Coating: In a microwave-safe bowl or using a double boiler, melt the white candy melts (or white chocolate chips) according to package directions, stirring frequently until smooth. If the coating is too thick, add shortening or coconut oil a teaspoon at a time and stir until it reaches a dippable consistency.
- Dip the Sticks: Remove the chilled cake balls from the fridge. Dip the tip of each cake pop stick about 1/2 inch into the melted candy coating, then insert the stick halfway into a cake ball. This acts as “glue” to secure the cake pop.
- Dip the Cake Pops: Dip each cake pop into the melted coating, turning gently to ensure it’s fully covered. Gently tap the stick against the edge of the bowl to remove excess coating. Do not swirl or shake vigorously.
- Decorate & Dry: Immediately after dipping, hold the cake pop upright and generously shower it with rainbow sprinkles before the coating sets. Insert the stick into a Styrofoam block or cake pop stand to dry completely, usually about 15-20 minutes. Repeat with remaining cake pops.
Ingredients
- 1 box (15.25 oz) vanilla cake mix (plus ingredients called for on the box, typically eggs, oil, water)
- 1 teaspoon vanilla extract
- Pinch of salt
- 1/2 cup (1 stick) unsalted butter, softened
- 2 cups powdered sugar
- 1-2 tablespoons milk or heavy cream
- 1/2 teaspoon vanilla extract
- Pinch of salt
- 16 oz white candy melts or white chocolate chips
- 1-2 tablespoons shortening or coconut oil (optional, for thinning)
- Rainbow sprinkles
- 24-30 cake pop sticks
Best Homemade Starbucks Cake Pops Sweet Treats Recipe
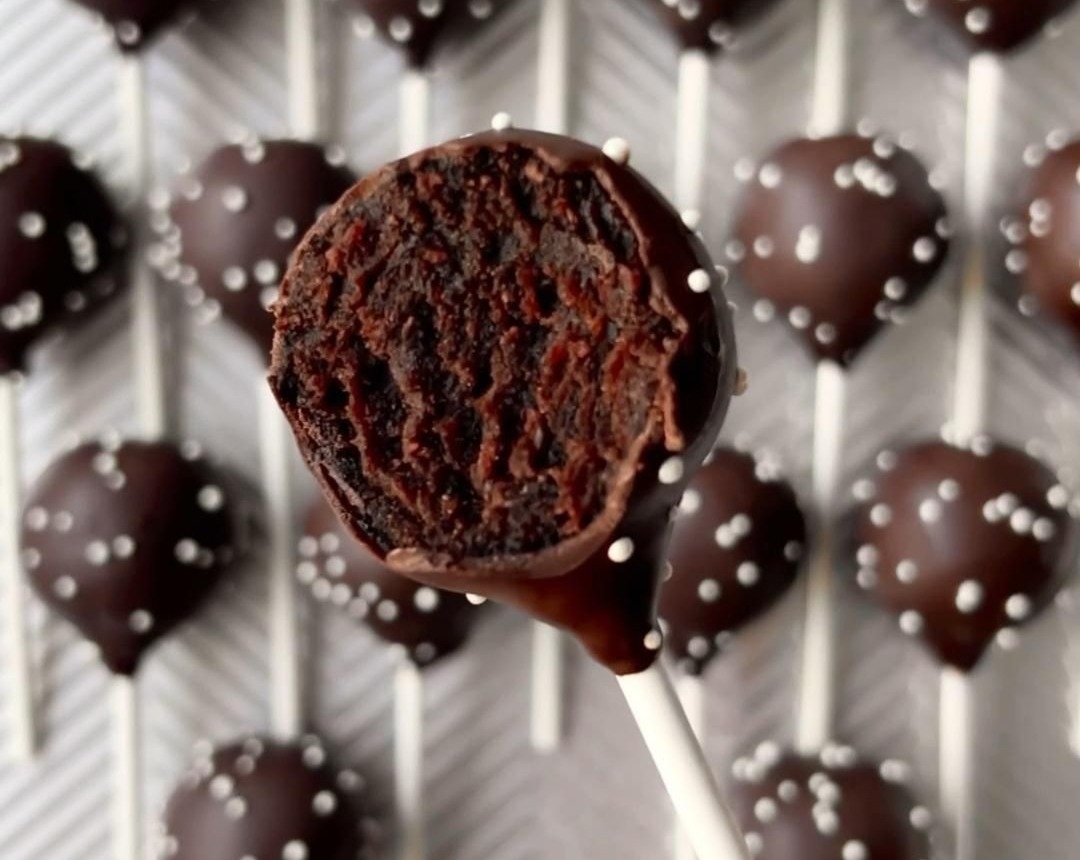
Master the art of crafting the best homemade Starbucks-inspired Birthday Cake Pops, a delightful and easy sweet treat perfect for any celebration, bringing cafe quality to your kitchen.
Ingredients
- 1 box (15.25 oz) vanilla cake mix (plus ingredients called for on the box, typically eggs, oil, water)
- 1 teaspoon vanilla extract
- Pinch of salt
- 1/2 cup (1 stick) unsalted butter, softened
- 2 cups powdered sugar
- 1-2 tablespoons milk or heavy cream
- 1/2 teaspoon vanilla extract
- Pinch of salt
- 16 oz white candy melts or white chocolate chips
- 1-2 tablespoons shortening or coconut oil (optional, for thinning)
- Rainbow sprinkles
- 24-30 cake pop sticks
Instructions
- Bake the Cake: Prepare the vanilla cake mix according to package directions in a 9x13 inch baking pan, adding 1 teaspoon of vanilla extract and a pinch of salt to the batter for enhanced flavor. Once baked, let the cake cool completely in the pan on a wire rack.
- Crumble the Cake: Once cooled, transfer the cake to a large mixing bowl. Using your hands, crumble the entire cake until it resembles fine crumbs with no large pieces remaining. This is a crucial step for smooth cake pops!
- Make the Frosting: In a separate bowl, cream together the softened unsalted butter until light and fluffy. Gradually add the powdered sugar, mixing until combined. Add 1/2 teaspoon vanilla extract, a pinch of salt, and 1 tablespoon of milk or cream. Beat until smooth, adding more milk or cream a teaspoon at a time if needed, until you have a smooth, spreadable frosting.
- Combine Cake & Frosting: Add about 1/2 to 3/4 of the frosting to the crumbled cake. Mix with your hands until the cake mixture is moist enough to be pressed together and form a ball that holds its shape, but not so wet that it's sticky or greasy. You may not need all the frosting, so add gradually.
- Form the Cake Pops: Scoop out about 1.5 tablespoons of the mixture and roll it firmly between your palms to form a smooth, dense ball. Place the formed cake balls on a baking sheet lined with parchment paper. Repeat until all the mixture is used.
- Chill the Cake Balls: Place the baking sheet with the cake balls into the refrigerator for at least 30 minutes, or the freezer for 15 minutes, until firm. This helps them stay on the stick.
- Prepare the Coating: In a microwave-safe bowl or using a double boiler, melt the white candy melts (or white chocolate chips) according to package directions, stirring frequently until smooth. If the coating is too thick, add shortening or coconut oil a teaspoon at a time and stir until it reaches a dippable consistency.
- Dip the Sticks: Remove the chilled cake balls from the fridge. Dip the tip of each cake pop stick about 1/2 inch into the melted candy coating, then insert the stick halfway into a cake ball. This acts as 'glue' to secure the cake pop.
- Dip the Cake Pops: Dip each cake pop into the melted coating, turning gently to ensure it's fully covered. Gently tap the stick against the edge of the bowl to remove excess coating. Do not swirl or shake vigorously.
- Decorate & Dry: Immediately after dipping, hold the cake pop upright and generously shower it with rainbow sprinkles before the coating sets. Insert the stick into a Styrofoam block or cake pop stand to dry completely, usually about 15-20 minutes. Repeat with remaining cake pops.
Shopping List
Pantry
- 1 box vanilla cake mix
- 1 teaspoon vanilla extract
- Pinch of salt
- 2 cups powdered sugar
- Rainbow sprinkles
- 24-30 cake pop sticks
Dairy & Eggs
- Eggs (as required by cake mix box)
- Oil (as required by cake mix box)
- Water (as required by cake mix box)
- 1/2 cup (1 stick) unsalted butter
- 1-2 tablespoons milk or heavy cream
Baking & Candy
- 16 oz white candy melts or white chocolate chips
- 1-2 tablespoons shortening or coconut oil (optional)
Equipment Needed
- 9×13 inch baking pan
- Large mixing bowl
- Electric mixer (handheld or stand mixer)
- Spatula
- Baking sheet
- Parchment paper or silicone baking mat
- Microwave-safe bowl or double boiler
- Deep, narrow glass or mug
- Cake pop sticks (lollipop sticks)
- Styrofoam block or cake pop stand (for drying)
Variations & Serving Ideas
These delightful homemade Birthday Cake Pops are truly a showstopper, effortlessly elevating any gathering. Present them upright in a decorative Styrofoam block covered with festive paper, or arrange them elegantly in a tall glass vase for a stunning, edible centerpiece at birthday celebrations, bridal showers, or holiday feasts. They are a perfectly self-contained sweet treat, but also pair wonderfully with a freshly brewed cup of coffee, a glass of cold milk, or even a sparkling mimosa for adult events. For a truly memorable dessert spread, consider serving them alongside miniature cupcakes, custom-decorated sugar cookies, and a vibrant platter of fresh berries. Leftovers, if there are any, can be stored in an airtight container in the refrigerator for up to a week, ensuring you can enjoy these sweet delights long after the party ends. For extended freshness, they freeze beautifully for up to a month; simply thaw in the refrigerator before letting them reach room temperature for serving.
And just like that, you’ve mastered the art of making the very best Starbucks-inspired Birthday Cake Pops right in your own kitchen! These little bites of joy are a testament to how easy it can be to create extraordinary treats with a little patience and a lot of love. I hope you found this guide helpful and had a blast bringing these colorful delights to life. Please share your creations and any personal twists you added in the comments below – I’d love to see them! Happy baking and sweet indulging! #HowToMakeCakePop #StarbucksRecipesCakepops #HowToMakeSweets #HowToMakeCakepops #HowToMakeCakePopsStepByStep #BdayFoodIdeas #EasySweetTreatsRecipes #BestCakePopRecipe #HomemadeCakePops
